Run the Game
Now that you have a basic project structure with the LITIENGINE referenced, your next step is to bring it all together and run the game for the first time.
Create an Application Entry Point
Since the LITIENGINE is a normal Java application, it needs to have an Application Entry Point in order for the JVM to know what to execute when launching the application. For that, we need a simple class that provides a static main(String[] args) method. We suggest to create a new class with a name similar to Program or GameRunner but the name doesn't really matter as long as the class provides the entry point.
An example implementation would look like this:
We recommend you to keep this class as clean and minimalist as possible so that this class is only responsible for starting up the game. It's good practice to locate all your game logic in other classes.
Initialize and Start the Game
After successfully setting up the application entry point, it's time to actually use the LITIENGINE. The following example will initialize the Game infrastructure with the specified command-line arguments. Upon calling the method Game.start() an empty window will be spawned that renders a black background and a title with the LITIENGINE logo.
import de.gurkenlabs.litiengine.Game;

public class Program {

  public static void main(String[] args) {
    Game.init(args);
    Game.start();
  }
}
IDE Dependency Sync
If your IDE cannot resolve LITIENGINE imports after updating your build file:
- IntelliJ IDEA: Click the floating Gradle refresh icon or choose View -> Tool Windows -> Gradle -> Reload All Gradle Projects.
- Eclipse: Right-click your project -> Gradle -> Refresh Gradle Project.
- VS Code: Open the Command Palette (
Ctrl+Shift+P/Cmd+Shift+P) and run Java: Clean Java Language Server Workspace.
Java 25+ Native Access VM Option
When launching your game directly via an IDE main() run configuration, add the following VM option to permit native memory access for low-latency gamepad polling:
(In IntelliJ IDEA: Run -> Edit Configurations... -> Modify options -> Add VM options).
If you see the following window, you have set up everything correctly and are now ready to create awesome 2D Java games with LITIENGINE!
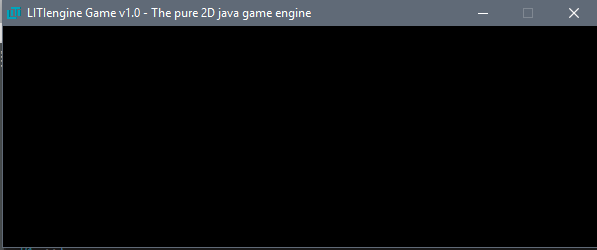 The default LITIENGINE application window spawned by Game.start().